PTV Visum Installation Instruction

This page guides you through the PTV Vissim installation process. If you need assistance, please contact us at support.us@ptvgroup.com.


<Before you start>

1. Make sure you have received an email with the ticket code for retrieving the license information and have it available.

2. Check system requirements for PTV Visum from the link below:
https://company.ptvgroup.com/en-us/system-requirements

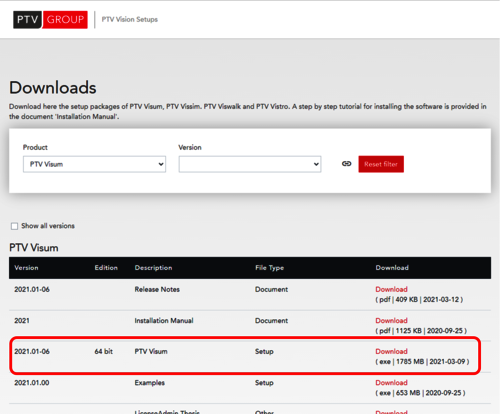
3. Download the latest PTV Visum setup file(s) from the link below:
https://cgi.ptvgroup.com/visionSetups/en/filter;product=PTV Visum
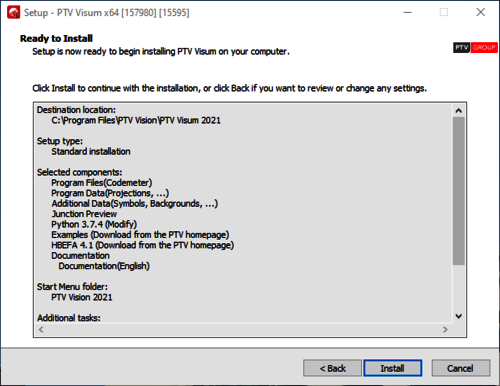
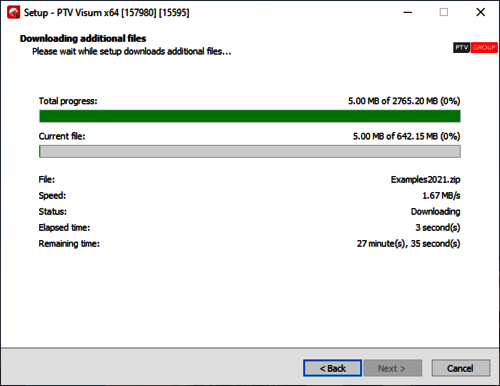
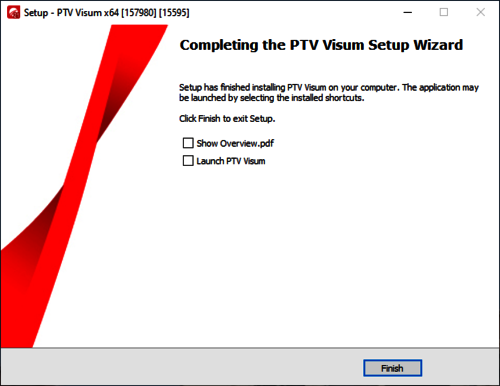
As shown in the figure below, you will need to download setup file.


– Download page will not work with Internet Explorer. Please use Microsoft Edge or Google Chrome or Firefox to download.
– You will only need to download Setup file (as shown above) to complete this installation process.


<Installation of PTV Vissim>

1. Run setup file (i.e. Setup_VISUM_2021.01-06_x64_Full.exe) that you have downloaded.

2. When the “Select Setup Language” window opens, select “English” and click “OK”:

3. Read the “License Agreement” and select “I accept the agreement” option. Then click “Next” button.

4. Read the “Data Privacy Policy” and select “I have read the data privacy policy” option. Then click “Next” button.

5. Select the directory where you want to install PTV Visum and click “Next” button.

6. Select components that you want to install including the language and click “Next” button.

  • Tasks recommended to add:
    • Additional Data: Includes symbols free for use in your projects.
    • Junction Preview: Provides the functionality for the Vissim node preview.
    • Python 3.7: Installs the script language Python together with supplementary libraries. This is required, for example, to use the Visum AddIns. (Python 2.7 is not supported anymore)
    • Examples: Includes various sample networks and examples for using the COM programming interface in Visum. The examples are downloaded from the PTV website during installation. You can also install the examples at a later time.
      Download the setup package
    • Documentation: Includes the entire software documentation. Here you can find information on the COM interface, a description of new functionalities, and the Quickstart tutorial for getting started. Select the languages in which you want to install the documentation.

7. Specify in which folder of the Windows start menu or in which group of the start screen the PTV Visum shortcuts shall be created and click “Next” button.

8. Select the task to be performed in the installation and click “Next” button.

  • Tasks recommended to add:
    • Register as COM - Server: If the option is selected, Visum is registered for automation through scripts.
    • Associate .ver files as PTV Visum version file: If the option is selected, Visum will be registered as the standardapplication to open .ver files.
    • Select license and set as default for all users: If the option is selected, the License Management – PTV Visum window will be displayed during the installation. The license selection is predefined for all users of the computer.
    • Create shortcut on the desktop: If the option is selected, desktop shortcuts are created for the current user or all users of the system.
    • Install Codemeter Runtime 7.10: If the option is selected, Codemeter Runtime 7.10 will be installed. 
      • Do not select this option if the mentioned version of Codemeter Runtime already exists, as a new installation could damage the existing version.
    • Create a virtual Python environment for PTV Visum: If this option is selected, a virtual Python environment is automatically created (see docs.python.org/3/library/venv.html). The virtual Python environment is set up in the EXE\PYTHON37MODULES subdirectory of the Visum
      installation. It offers two additional features:
      • With the Python package manager "pip" additional packages can be installed within the environment, which are then available in scripts started from PTV Visum. The package manager makes sure that the installed packages are compatible with the ones shipped with Visum.
      • In development environments that support virtual environments (e.g. Visual Studio Code), the virtual environment set up for PTV Visum with the included packages can easily be used for script development.

9. Verify your selection and click “Install” button.

10. If you have not installed an earlier version of PTV Visum and selected Python in step 6 "Python", the Python scripting language will be installed in the selected versions during the installation. If you have a Python installed already, the following windows open:

11. Click "Repair" and "Close" the Python installation process once it is complete.

12. Once it is complete, click “Finish” button without selecting any additional options.